Satpro Mavlink Telemetry
Mavlink Telemetry
Table of Content:
- Default configuration port <Modem> in RXLRS.
- Cube Orange autopilot, configure parameters in telemetry port 1 (TELEM1).
- Connection Diagram: RXLRS + Cube Orange.
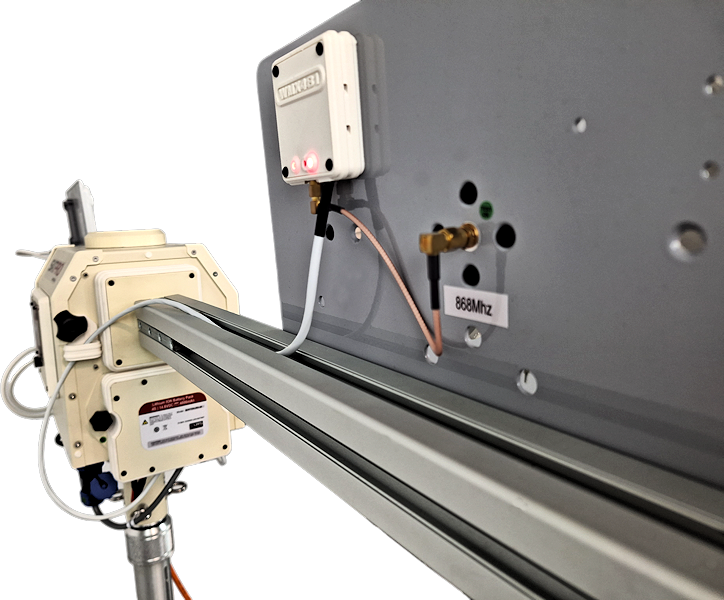
- Reception of Mavlink Telemetry in SATPRO with WMX481 and GCS or XLRS Transmitter.
The purpose of this guide is a quick check of the Mavlink Telemetry between the WMX481 radio module, RXLRS receiver and Cube Orange or similar autopilot that works with the Mavlink protocol, take these tests in the office.
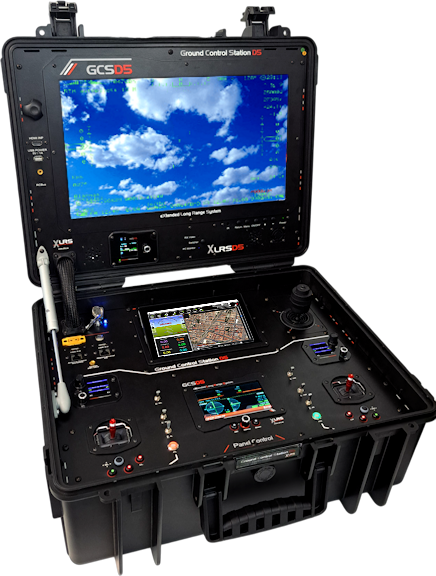
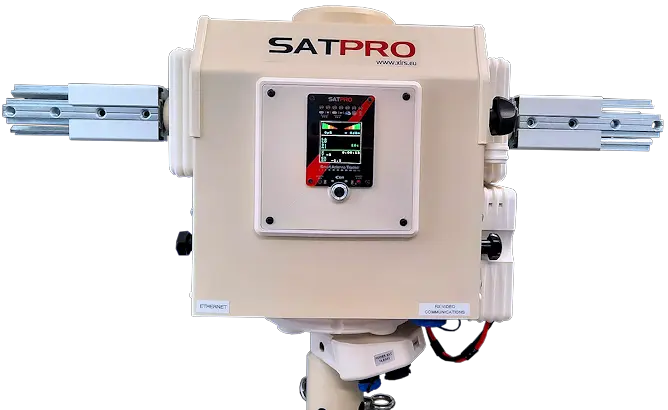
You will use: The SATPRO tracker antenna together with the WMX481 radio module, XLRS GCS o XLRS Transmitter, RXLRS receiver and Cube Orange or similar.
For the first tests it isn’t necessary to modify the modem port configuration of the RXLRS receiver.
Attention:
This is an example guide, you can use another type of autopilot as long as it is compatible with the Mavlink protocol.
Before starting:
Default configuration port “MODEM” in RXLRS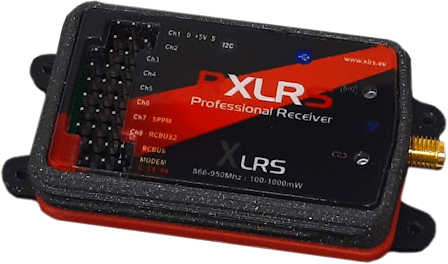
By default the “MODEM” port of the XLRS receivers are configured at: Baud: 38400 | Bits: 8 | Parity: N.
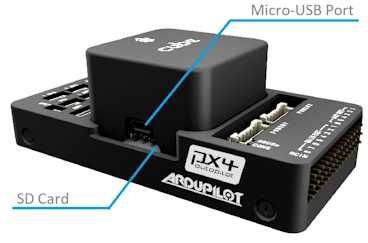
Cube Orange autopilot, configure parameters in telemetry port 1 (TELEM 1)1- Connect the Autopilot USB port to your PC.
2- Open Mission Planner software or similar, select the corresponding COMx port and connect to configure the autopilot parameters.
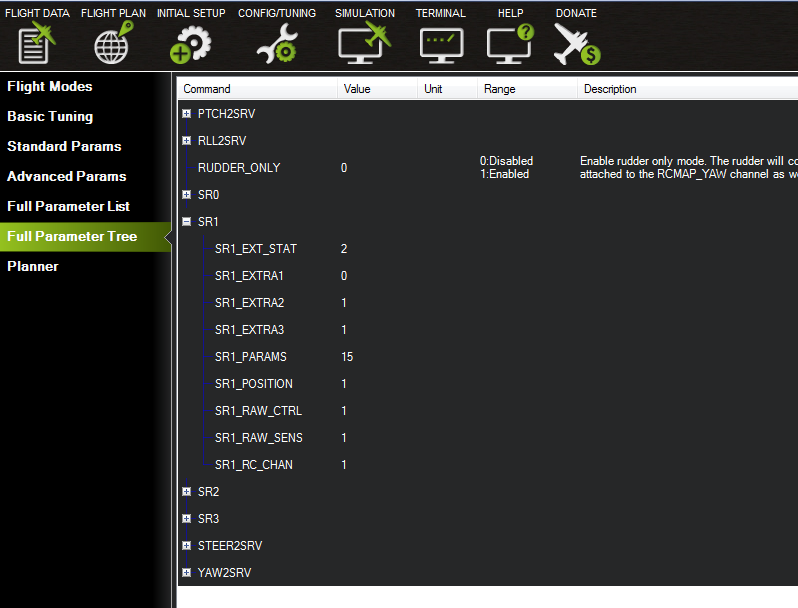
3- Access the CONFIG/TUNNING tab, select Full Parameter Tree.
4- Configure the baud of telemetry 1 to 38400b from the parameter “SERIAL1_BAUD = 38. (If you have the telemetry ports configured at another speed it will not work in this test).

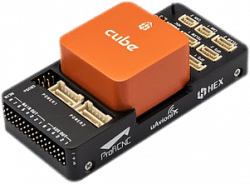
Connection diagram: RXLRS + Cube OrangeMake the connection between RXLRS and Cube Orange, as shown in the following diagram.
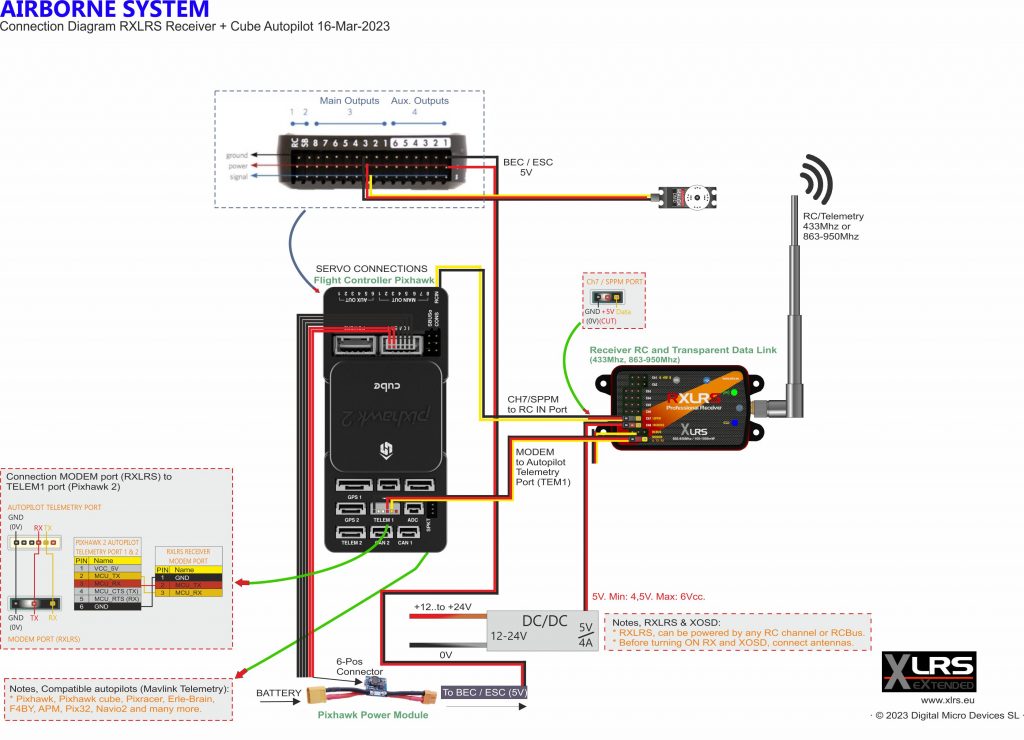
1- Connect the Telemetry cable “RX_MODEM” from the “MODEM” port of RXLRS to the “TELEM1” port of the autopilot.
2- Connect the “SPPM” cable from the “CH7/SPPM” of the RXLRS to the “RCIN” port of the autopilot.
3- Connect the Cube Orange GPS.
4- Check all the connections between RXLRS and Cube Orange, if everything is correct turn on both devices.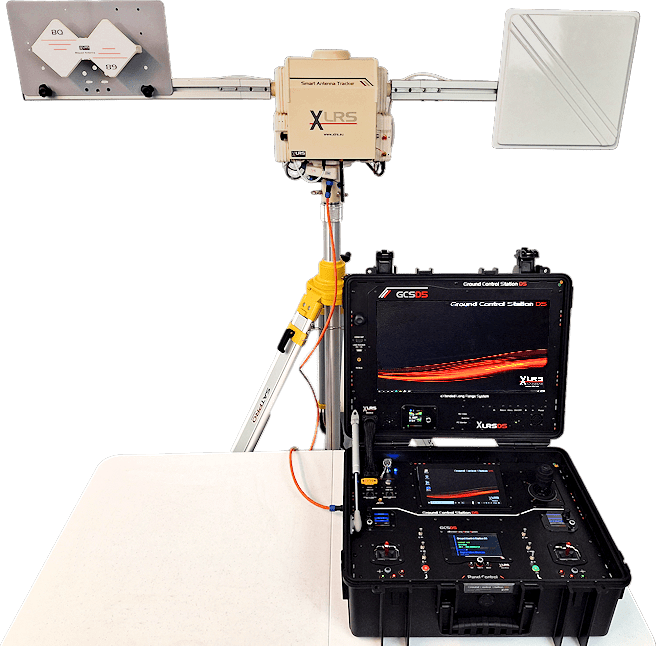
Warning:
Additional Information:
When SAPTRO is receiving GPS data from Mavlink Telemetry for the first time, it may move, depending on the distance that the GPS indicates at that moment.
If you are inside a building, the GPS may not be able to obtain many satellites and may not be very accurate.
If the distance shown by the GPS is less than 5 meters then SATPRO will not move. For security, SATPRO will not move until it detects that the GPS distance is greater than 5 meters.
Basic operation of receiving Mavlink telemetry
The GCS or XLRS Transmitter (if connected to a PC) will also be receiving Mavlink telemetry data and at this time if you activate telemetry on your XLRS RC transmitter and communicate via USB with software compatible with the Mavlink protocol such as: Mission Planner , QGroundControl, UgCS or similar, you can see the status and information of your autopilot through a map, here you can also modify any telemetry parameter or send new missions to your autopilot.
Firts Steps
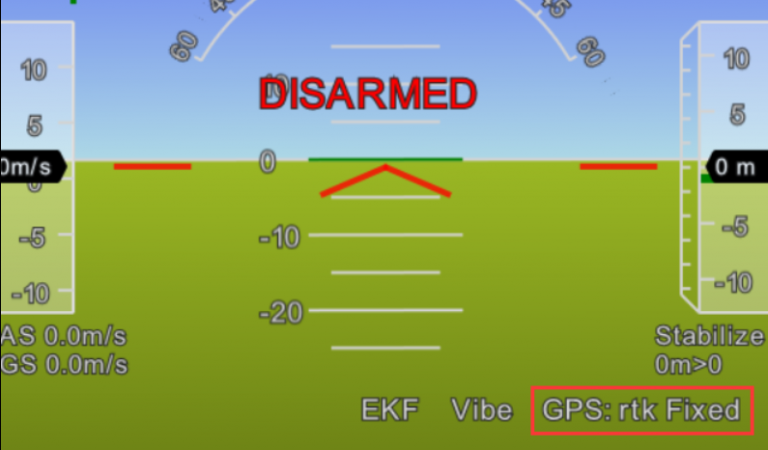
1- Verify that the autopilot GPS has satellites and is receiving data.
You can verify it by checking the status of the LEDs on the GPS itself or if you connect the autopilot to Mission Planner on the main page you will be able to see the current status of the GPS as RTK Float, RTK Fixed or 3D RTK.
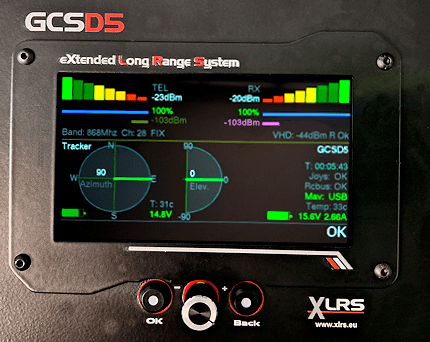
2- Turn on the GCS or XLRS Transmitter, remember before turning on the XLRS device you have to connect the RCBUS cable to SATPRO.
3- Turn on SATPRO.
4- Verify that you have a link between WMX481 and the XLRS Receiver.
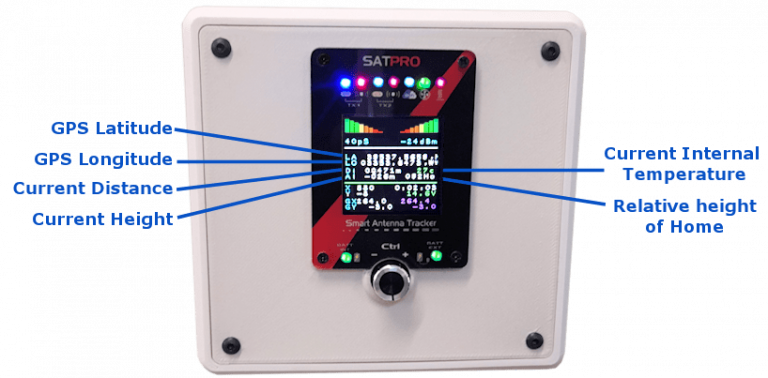
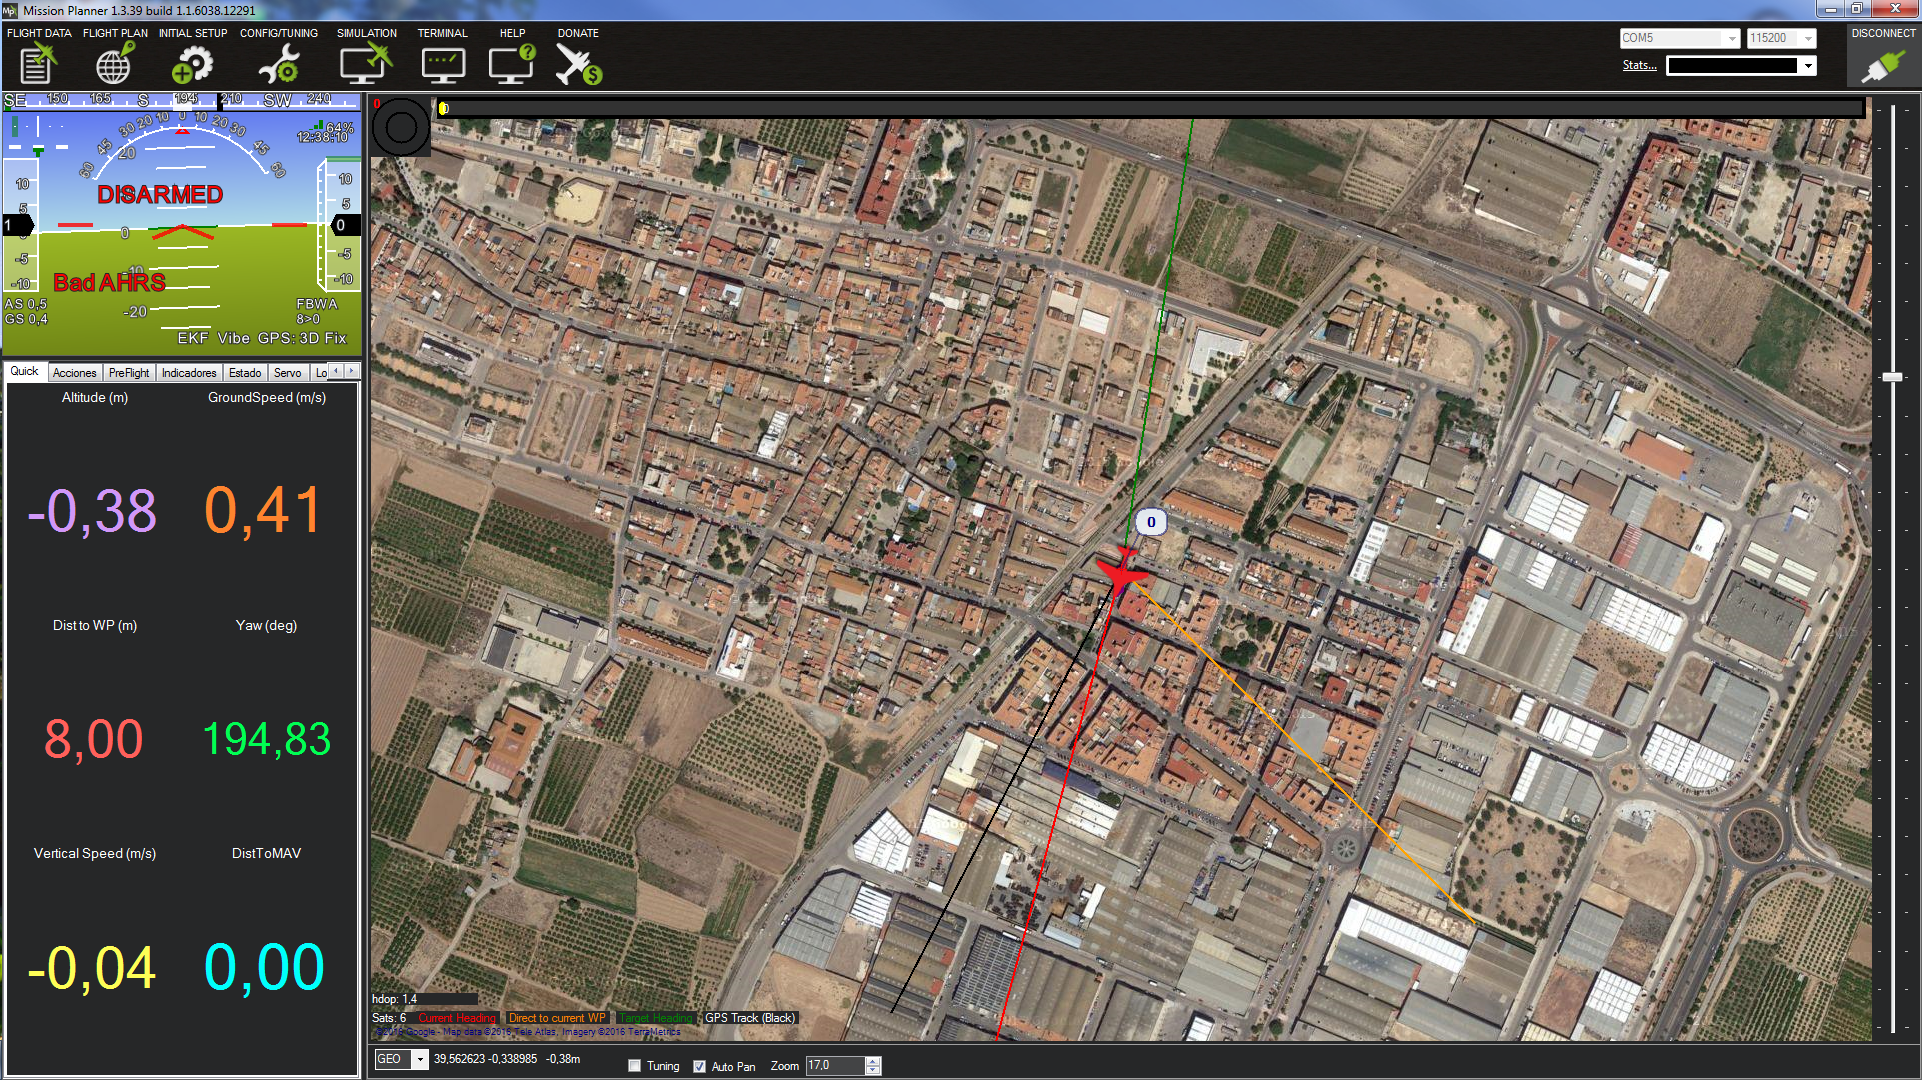
6- Verify that SAPTRO is receiving GPS data, check the data on the SATPRO display, it should be receiving the GPS coordinates of the autopilot.
7- On the GCS or XLRS Transmitter (Connected to a PC via USB), open the Mission Planner software and perform communication.
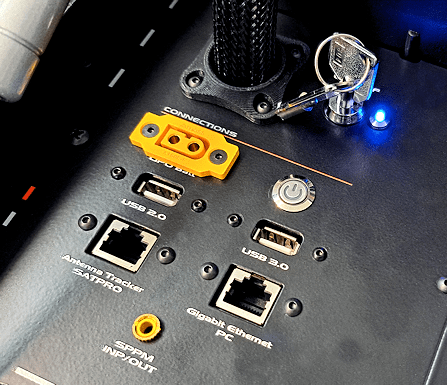
7.1- Check which USB COMx port the GCS is connected to the internal PC (You can see it from Control Panel\Hardware and Sound\Devices and Printers)
7.2- To establish the connection with Mission Planner, you must first have USB telemetry activated from the GCS.
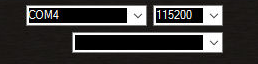
7.3- Now in Mission Planner select the corresponding COM port and 115200b.
7.4- Click on Connect, if everything is fine, Mission Planner will begin to read and load the Mavlink telemetry parameters of your autopilot.
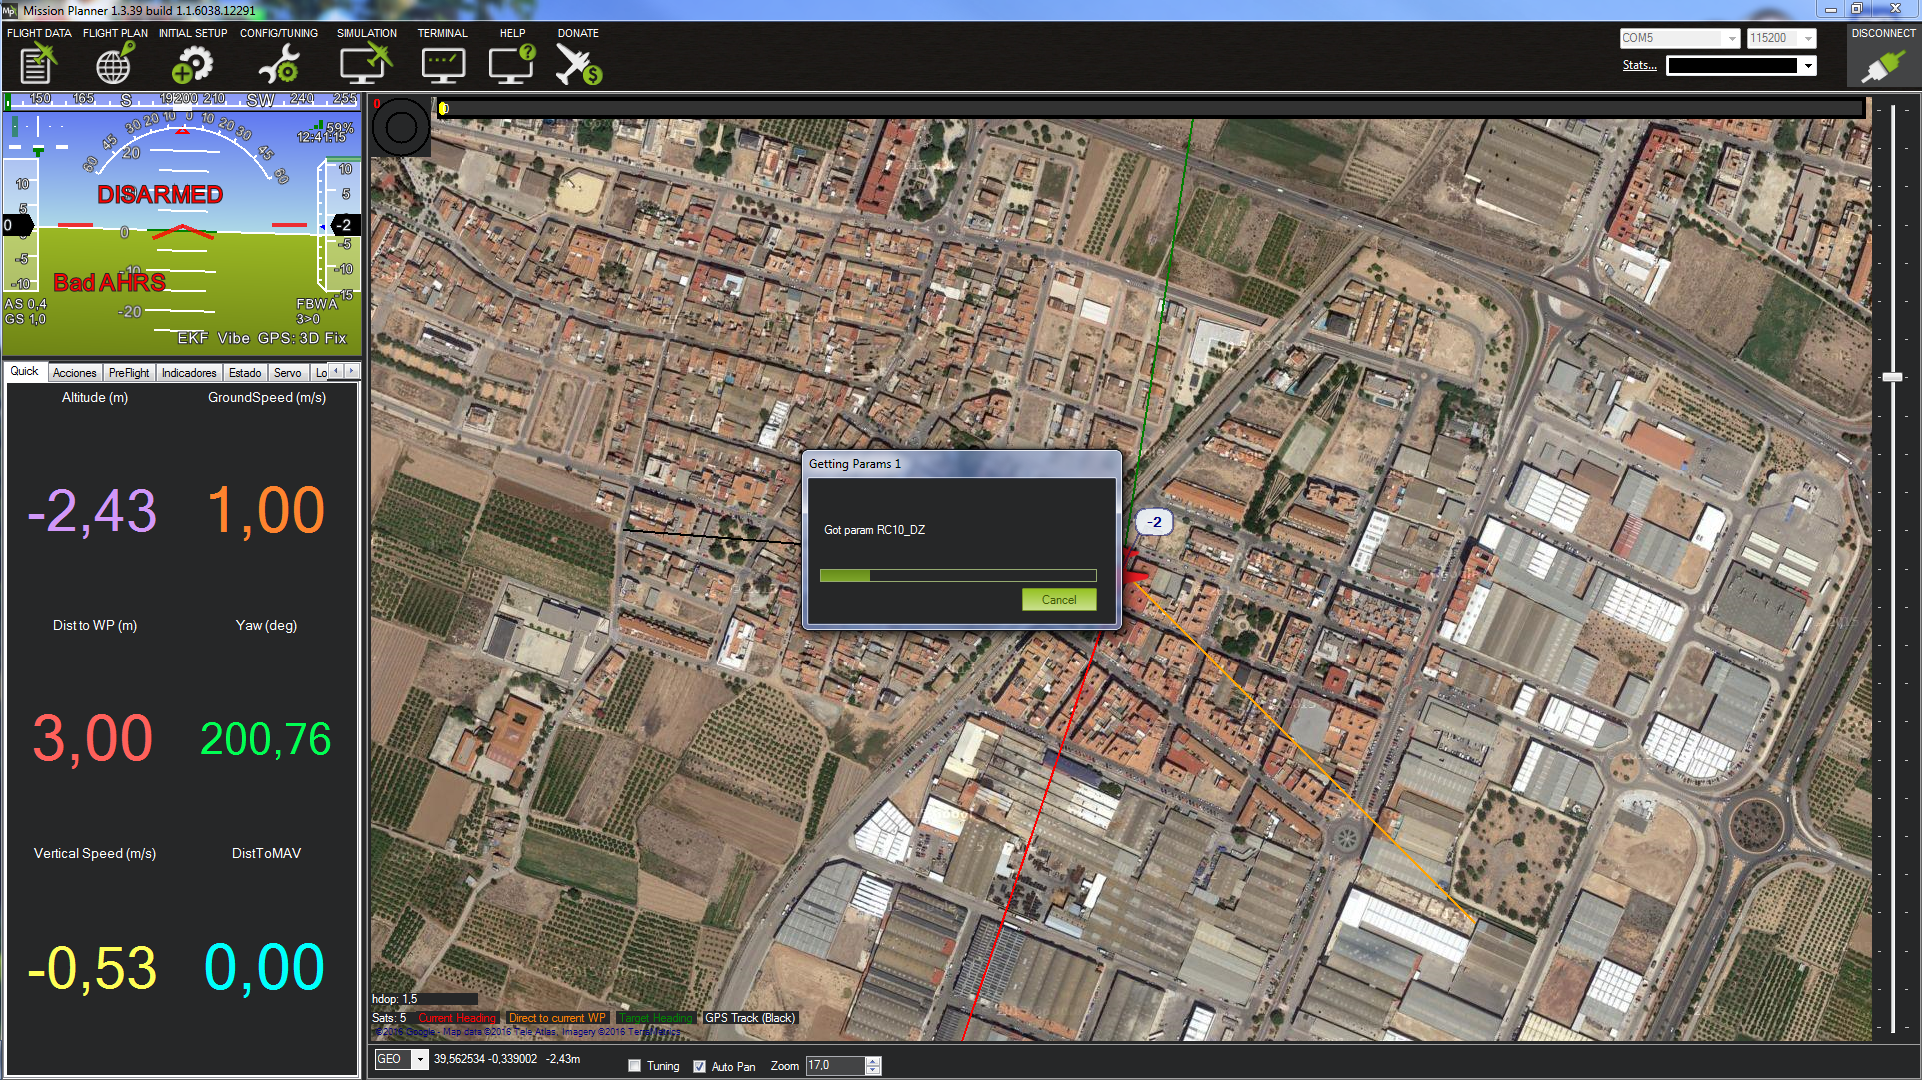

 7- Once this process is finished you will have the GCS linked to the Mavlink telemetry.
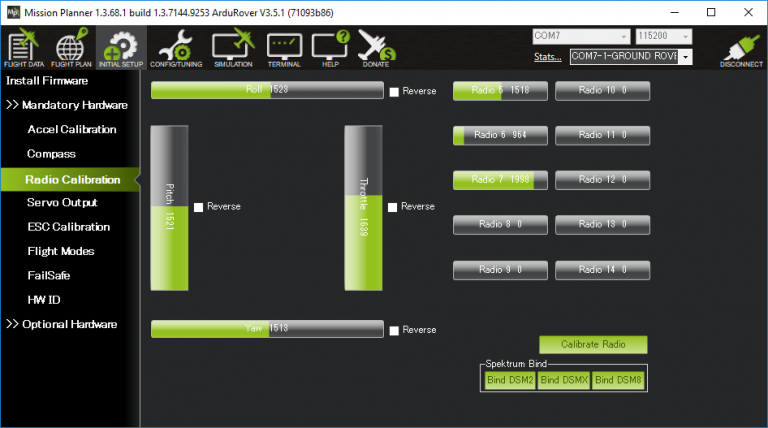
8- Once you have communication with Mission Planner you can check if the RXLRS SPPM signal from all the RC channels is reaching the autopilot, from the MP/SETUP/Mandatory Hardware/Radio Calibration tab, a quick test is to move a joystick and verify on the screen that the values change in each RC channel.