SATPRO_DMDSTUDIO_BOOT
DMDStudio BOOT
How to update a SATPRO?
BOOT. How to update a SATPRO from DMDStudio software:
Important: Don’t update any device unless instructed to do so by DMD technicians.
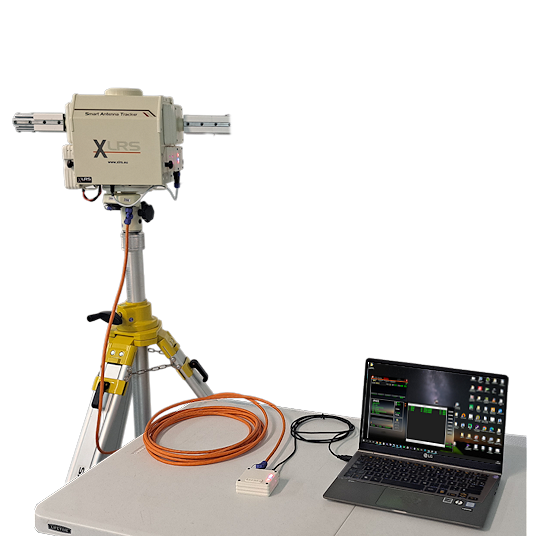
Note: To perform the firmware update, we will have SATPRO turned off and connected by RCBus cable to the CURCB device and connected to the PC via USB.
To load firmware it is necessary to download DMDStudio Software.
1- Download the version for your device in (Updates).
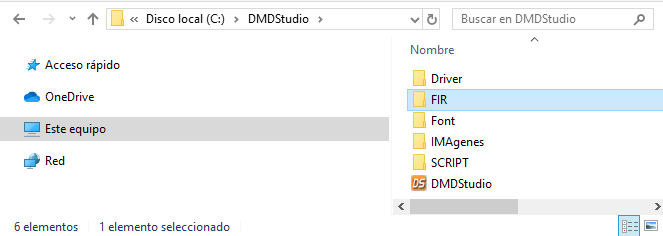
2- Copy the firmware to the directory C:\DMDStudio\FIR\.
3- Connect the CURCB device to your PC.
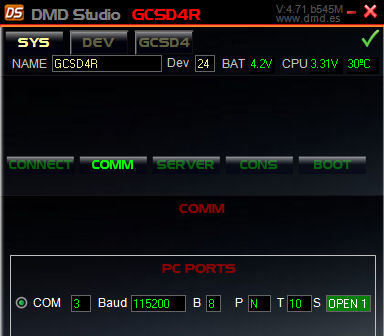
4- Open DMDStudio and check the COM port.
In this step we will verify which COM port the device we want to update is on.
-
- Manual:
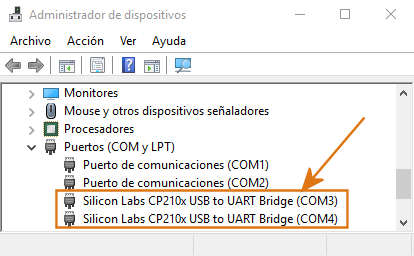
- Locate the COM port, from Windows click on “Start and Devices and Printers”.
- Access the COMM tab and select the COM port of your device, then tap on the icon.
- Manual:
5- Device detected.
Once the CURCB device is connected to DMDStudio, access the DS/BOOT.
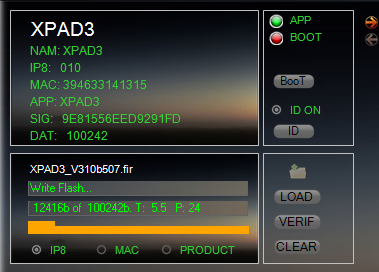
6- Product identification in BOOT.
Once CURCB enters BOOT mode, one or more LEDs will flash to indicate that boot mode has been activated and at this time it can be updated.
When the device is identified in the BOOT tab, the code will automatically appear in the ID terminal and its information (Code, Name, APP, Mac, IP8, etc.) in the list of devices.
If there are more devices connected by RCBus and in BOOT mode, they will also be displayed in the list.
Example image:

7- SATPRO in BOOT mode.
Now while we are in the BOOT tab, we will turn on SATPRO.
If everything has gone well, SATPRO will enter BOOT mode, the display will show “BOOT MODE” or similar and some LEDs will be flashing, then DMDStudio will detect the “SATPRO” device and it will be displayed in the device list of the BOOT tab.
If SATPRO hasn’t entered BOOT mode:
– Perform a reset from the switch again.
– If not, turn off SATPRO from the switch, hold down the encoder and at the same time turn on SATPRO, this action will force SATPRO to enter boot mode.
7- Firmware selection. Press the icon ![]() to select the firmware or App that we want to load.
to select the firmware or App that we want to load.
Once selected, if everything is correct, the name of the firmware file will appear on the Id terminal and the buttons for loading and verification will be activated.

8- Firmware load. To load it, we will press the “LOAD” button.
Wait until the progress bar ends and the following message appears “Load Flash OK”, this will indicate that the loading has been correct, now DO NOT close DMDStudio you must exit the BOOT tab so that the device can boot the new version, for example access the CONS and the device It will start with the new version, for safety reasons it is advisable to restart all devices so that the Application opens correctly.
If for any reason during loading a “Load Flash error”, not worry, follow these steps: Load Firmware Error (In the case of SATPRO you may need to increase the parameter TIMERB = 40).
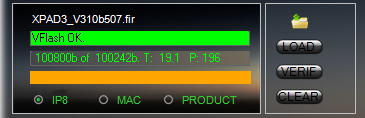
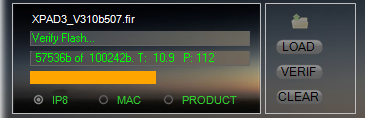
9- (Optional) Firmware Verification.. (There’s no need). If you want to be sure that the firmware has been loaded correctly, you can verify it by clicking on the “VERIF” button. It is not necessary to do this step since the system automatically verifies it during loading.
In any case, the option to check if there are doubts is available.
If we want to verify it to be doubly sure that the version we wanted is loaded in the microcontroller’s Flash memory, then we will press the “VERIF” button.
We will wait until the progress bar ends and the following message “VFlash OK” appears, this will indicate that the verification has been correct.
 Vídeos de ejemplo