Satpro radio link
Data Link WMX481
Table of Content:
- Additional Information, Default Radio Configuration: WMX481 and RXLRS.
- Startup, RXLRS.
- Startup, SATPRO with WMX481.
- Check link between RXLRS and WMX481.
The purpose of this guide is a quick check of the radio link between the WMX481 radio module and the RXLRS receiver, take these tests in the office.
You will use: The SATPRO tracker antenna together with the WMX481 radio module and the RXLRS receiver on a table with minimal wiring, battery and DCDC that supplies 2-3Amp.
The SATPRO, WMX481 and RXLRS are already configured and linked at the factory.
Attention:
Additional information, Default Radio Configuration: WMX481 and RXLRS.XLRS systems sent to countries in Europe, Africa, Asia and Oceania (868Mhz).
The default configuration may be the same for other countries outside Europe that use the same frequency. For India there is a specific ETA compatible configuration.
By default, the radio modules of XLRS transmitters and receivers are factory configured to comply with CE standards with the following minimum configuration:s
Regulations: CE.
Band: 868Mhz
Frequency: 869.4 to 869.65Mhz.
RF power: PWR=29. 500mW (+27dBm).
Minimum RF Channel: 28.
Maximum RF Channel: 33.
FHSS: Activated.
FHSS code: 4 200 30 150 60 210 10 100 10 130.
RF bandwidth: 100Kb. Including upload packages (RC+modem) and download packages (modem-telemetry)
RF IP: 147.011.111.041(RX), 147.011.111.124 (TX)
XLRS systems shipped to countries in America, Japan (902-950Mhz)
By default, the radio modules of XLRS transmitters and receivers are configured at the factory to comply with FCC regulations with the following minimum configuration:
RF power: 1000mW (+30dBm).
Minimum RF Channel: 5.
Maximum RF Channel: 55.
FHSS: Activated.
Bandwidth: 100Kb.
RF IP: 147.011.111.041(RX), 147.011.111.124 (TX)
XLRS systems sent to countries outside Europe, optional (430 or 433Mhz)
If the client has requested it, they can use the system at 430 or 433Mhz, the radio modules of the XLRS transmitters and receivers will be configured at the factory with the following minimum configuration:
Band, 430Mhz: Frequency 430 to 450Mhz. 200 channels at 100khz = 20Mhz (except exceptions by customer request).
RF power: 1000mW (+30dBm).
Minimum RF Channel: 1.
Maximum RF Channel: 15.
Band, 433Mhz: Frequency 433 to 453Mhz. 200 channels at 100khz = 20Mhz (except exceptions by customer request).
RF power: 1000mW (+30dBm).
Minimum RF Channel: 1.
Maximum RF Channel: 11.
The two RF bands:
FHSS: Activated.
Bandwidth: 100Kb.
RF IP: 147.011.111.041(RX), 147.011.111.124 (TX)
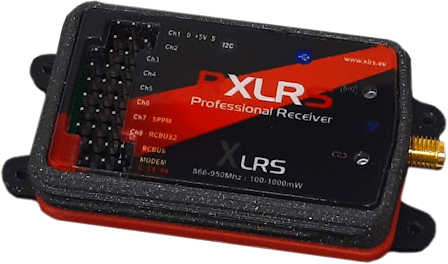
Startup, RXLRS Professional Receiver Radio Control & Mavlink Telemetry.
Important:
Never connect a battery directly to the XLRS receiver, as it may damage the device and is not covered by the warranty. It is recommended to use a DCDC converter and feed at a stabilized 5Vdc.
XLRS receiver power supply voltage: 5V. Min 4.5V. Max 6Vdc. (Check the datasheet or manual: Manual RXLRS), if you are not sure about the connection, you can contact the technical service at the following email support@dmd.es.
Attention:
It is recommended to carry out the first tests on a table and have the RXLRS receiver 2-3 meters away from the SATPRO with WMX481.
In the example connect:
A standard 11.1V 3S 1300mAh lipo battery to a DCDC of 12 to 24V input and 5V/2-4Amp the output of the 5V DCDC to the receiver through channel CH8 or CH6 (for example).
When it is powered, in the first seconds the two LEDs will light up, the LINK LED will flash, the RF LED will be fixed and then they will turn off.
Startup, SATPRO with WMX481.
Attention:
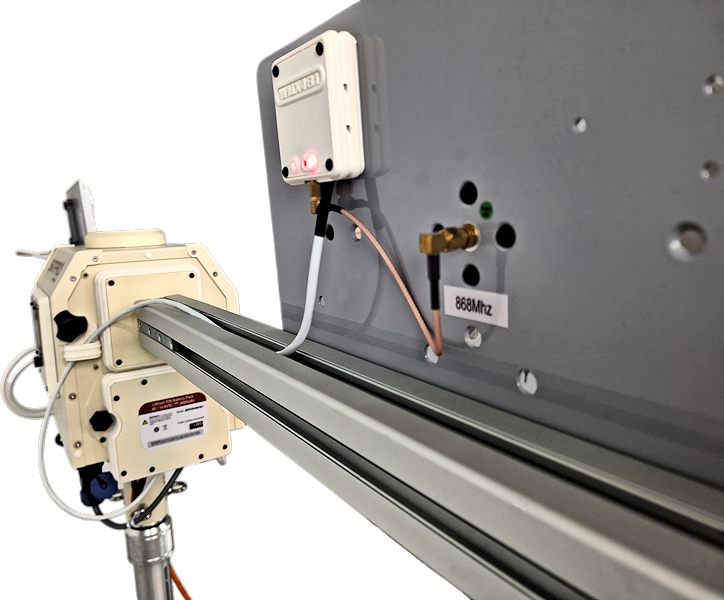
Previously you will have connected the WMX481 module by cable to the RCBUS of the SATPRO.
SATPRO and WMX481 (RCBUS Cable): Do not connect the RCBUS cable of WMX481 if you already have SATPRO turned on, if so, then turn off SATPRO and connect the RCBUS cable, now you can turn on SATPRO.
Do not have objects near SATPRO that could interfere or obstruct if the tracker antenna moves.
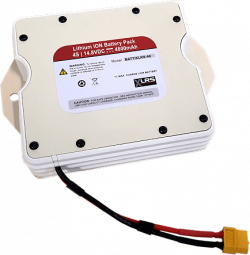
Check to have the SATPRO battery charged. (If the battery isn’t charged or used for several days, it is possible that it deactivates automatically and when you turn on the SATPRO it doesn’t work.
To activate the battery you will have to connect the charger for a few seconds and then you can reconnect it to the SATPRO).
Warning:
Before turning on SAPTRO check the following warnings: SATPRO Warnings.
Firts Steps:
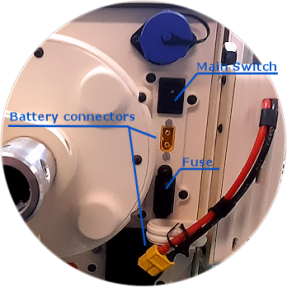
Turn on SATPRO, connect the local battery to the SATPRO and activate the ON/OFF switch. (More information about: Battery. Charging and Use).
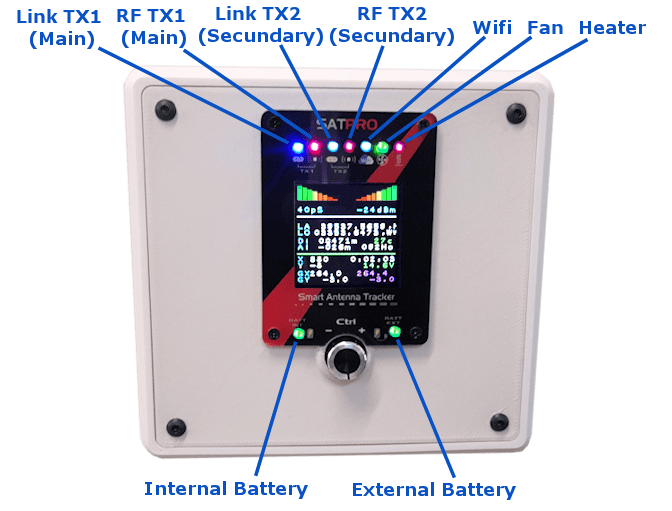
Linked devices: If you have RXLRS turned on, then WMX481 and RXLRS will link automatically.
Note on SATPRO LEDs: If you are using WMX481 it is completely normal that the SATPRO “Link” and “RF” LEDs don’t light up. Previously, the SATPRO used internal RF modules so these LEDs would light up, but in current models that use the external RF module “WMX481”, they no longer light up. However, the LEDs on the WMX481 module should light up.
Check the link between RXLRS and WMX481
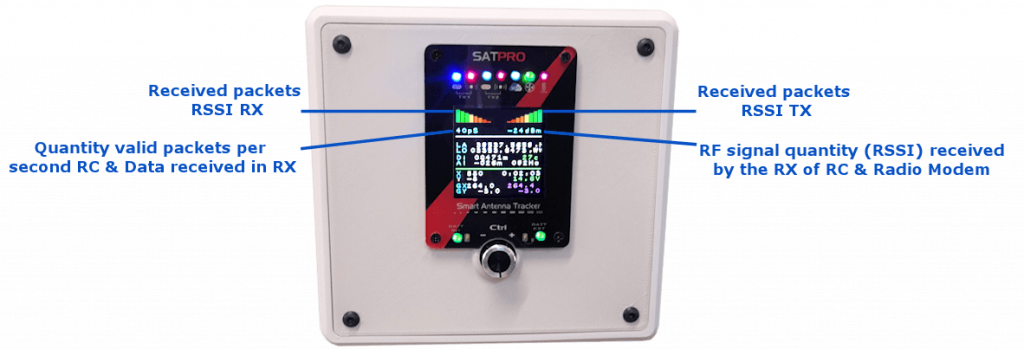
On the SATPRO screen you will see that the radio data RSSI and dbm are displayed, also from the WMX481 module you will have the three LEDs lit, the Power (Red), Link (Blue) and Transmission (Red). (You can learn more about the display information here: SATPRO Display).
If you have SATPRO and RXLRS 1-3 meters away, the SATPRO display will show between -19dBm to -23dBm and 40 packets per second of packets received.
Note: Depending on the version of SATPRO and WMX481, you may not be able to see the radio parameters on the display until you connect a GCS XLRS or CTRCB.
